
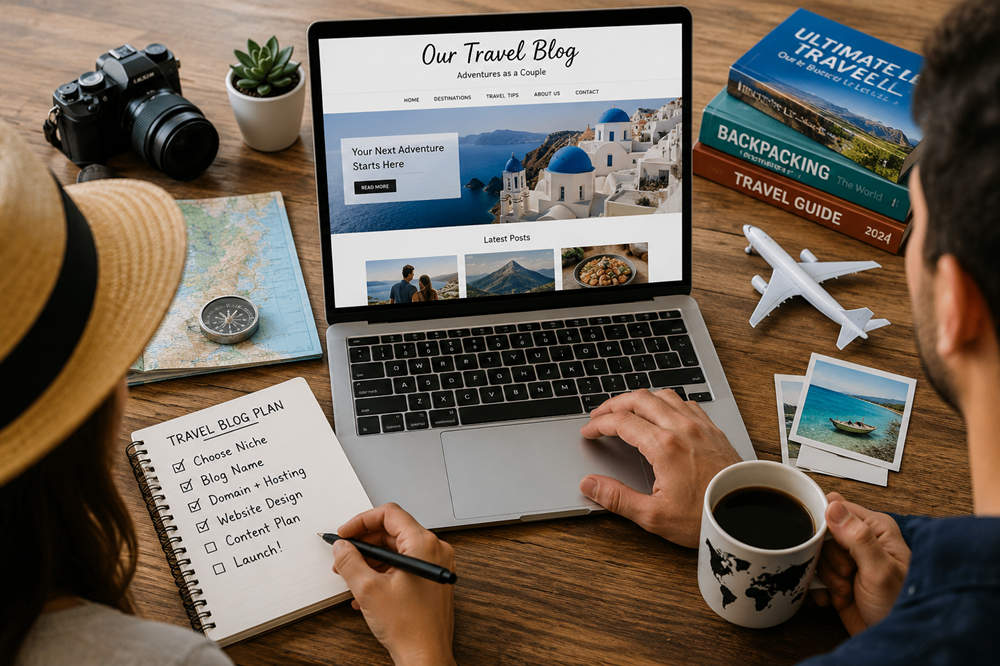
How to Start a Travel Blog: 10 Practical Steps for Couples
Starting a travel blog can give you and your partner a place to share useful trip-planning advice, preserve meaningful experiences, and build a creative project together. You do not need to travel full time, own professional camera equipment, or visit a new country every month.
A focused blog can begin with weekend getaways, road trips, familiar destinations, past vacations, food experiences, and planning lessons you have already learned. The important part is turning those experiences into clear information that helps other couples make decisions.
These ten steps cover the practical work involved, from choosing your focus and dividing responsibilities to building the website, publishing your first articles, and exploring income opportunities responsibly.
1. Decide What You Want the Travel Blog to Become
Begin by discussing why each of you wants to start the blog. A shared purpose will guide decisions about time, expenses, privacy, publishing frequency, and future monetization.
Your goals might include:
- Documenting trips and photographs
- Helping couples plan particular types of vacations
- Developing writing, photography, or video skills
- Creating a professional travel portfolio
- Building a community around a destination or travel style
- Developing a publishing business over time
A personal journal can be updated whenever inspiration appears. A blog intended to attract search traffic, partnerships, or income needs a more consistent editorial process.
Talk about what success would look like after the first year. One partner may value creative satisfaction, while the other may focus on readership or revenue. You do not need identical motivations, but both people should understand what the project requires.
2. Choose a Clear Couples-Travel Niche
Travel is too broad to provide much direction on its own. A defined angle makes it easier to choose destinations, plan articles, create a recognizable identity, and attract the right readers.
Possible couples-travel niches include:
- Affordable weekend getaways
- Honeymoons and anniversary trips
- Food-focused travel
- Road trips from a particular city or region
- Outdoor adventures for partners with different ability levels
- Accessible and slower-paced travel
- Luxury trips with honest cost comparisons
- Destinations for couples with different interests
- Travel planning around limited vacation time
- Destination weddings and resort stays
A simple positioning statement can help:
We help [type of couple] plan [type of trip] with [specific benefit].
For example, you might help busy couples plan realistic three-day city breaks without overspending. Another blog could focus on active trips that combine hiking with comfortable hotels and memorable meals.
Your niche does not have to restrict the site permanently. It should simply make the first 15 to 30 articles feel connected enough that a new reader understands why the blog exists.
3. Divide Responsibilities and Set Personal Boundaries
A couples’ travel blog usually involves more than writing. Someone must research destinations, manage photographs, update the website, answer messages, track expenses, edit articles, and maintain the publishing schedule.
Divide the work according to your strengths rather than trying to split every task exactly in half. One partner might draft articles while the other edits, verifies changing details, and prepares photographs. One may handle itinerary research while the other manages the website and newsletter.
Create a shared list covering:
- Writing and editing
- Photography and image organization
- Destination research
- Website maintenance
- Email and social media
- Expense and income tracking
- Partnership decisions
- Final article approval
Both partners should have secure access to essential accounts, including the domain, website hosting, business email, cloud storage, analytics, and financial records. Do not leave the entire project dependent on one person’s private login.
Decide How Much of Your Relationship Will Be Public
A useful couples-travel blog does not require publishing every personal moment. Agree on whether you are comfortable sharing:
- Photographs of each other
- Relationship disagreements
- Financial details
- Health or accessibility information
- Family information
- Your live location while traveling
- Stories involving friends or relatives
Either partner should be able to keep a photograph or experience private. Set those boundaries before an article or social post creates an uncomfortable situation.
4. Choose a Name and Secure the Domain
Your blog name should be memorable, easy to spell, and flexible enough to remain useful as your travel style changes.
Before making a decision, consider whether the name:
- Can be understood after someone hears it once
- Has an available domain
- Is reasonably consistent with available social handles
- Sounds distinct from existing travel companies
- Will still fit if your budget or preferred destinations change
- Avoids unnecessary numbers, hyphens, and unusual spellings
A name tied to one age, destination, or relationship stage may become limiting. That narrowness can work for a highly focused regional publication, but it may be unsuitable if you expect the site to expand.
Search the proposed name online before registering it. Check for established brands, similar domains, confusing spellings, and relevant trademarks in your jurisdiction. Domain availability alone does not establish the right to use a business name.
Register the domain through an account you control, use a strong password, enable two-factor authentication when available, and turn on automatic renewal.
5. Set a Realistic Startup Budget
A travel blog can be started with modest expenses, but a professional website is rarely completely free. Decide how much you are both comfortable spending before buying themes, subscriptions, or equipment.
| Expense | Priority | What It Covers |
|---|---|---|
| Domain registration | Essential | Your website address and brand identity |
| Hosting or website-builder plan | Essential | The service that keeps the website online |
| Theme or template | Optional at first | The visual structure and design of the site |
| Business email | Useful | A professional address connected to your domain |
| Backup and security tools | Important | Protection against technical problems and data loss |
| Image-editing software | Optional | Preparing and compressing photographs |
| Newsletter service | Optional at launch | Collecting subscribers and sending emails |
| Camera equipment | Optional | Higher-quality photography or video production |
A premium theme, expensive camera, and large collection of paid plugins are not necessary before the first article is published. Begin with reliable essentials, then upgrade when a specific limitation justifies the cost.
Keep blog expenses separate from ordinary household and travel spending. A simple shared spreadsheet can record renewals, software subscriptions, transportation used for assignments, complimentary services, affiliate income, and other business-related transactions.
6. Build the Website in a Sensible Order
You can use a hosted website builder or install WordPress through a hosting provider. The right choice depends on how much control and technical responsibility you want.
WordPress.com and self-hosted WordPress use the same underlying WordPress software, but the hosting arrangements differ. WordPress.com includes managed hosting, while a self-hosted WordPress site requires you to select and manage a separate hosting provider.
A hosted service may be easier for beginners who want maintenance and support handled in one place. Self-hosted WordPress generally provides greater control over themes, plugins, advertising, and technical configuration, but it also creates more responsibility for security, updates, and backups.
A Basic Travel Blog Setup Sequence
- Register the domain.
- Choose a hosted platform or website host.
- Connect the domain to the website.
- Install WordPress or select a suitable website template.
- Enable HTTPS and automatic backups.
- Choose a mobile-friendly design.
- Set short, descriptive URL structures.
- Create the main navigation and essential pages.
- Connect the website to analytics and Google Search Console.
- Locate the site’s XML sitemap and submit it through Search Console.
- Test the website on a phone, tablet, and desktop computer.
- Publish and inspect the first articles.
Google Search Console helps website owners understand how their pages appear in Google Search and identify indexing or technical problems. Most modern content-management systems generate a sitemap automatically. Submitting that sitemap can help Google discover your preferred URLs, although submission does not guarantee that every page will be indexed.
Create the Essential Pages
Set up these pages before promoting the blog:
- Home: Explain what the site covers and direct readers to useful guides.
- About: Introduce the authors, audience, and editorial approach.
- Blog: Display recent articles or destination guides.
- Contact: Provide a professional method for reaching you.
- Privacy policy: Explain relevant data collection and website practices.
- Disclosure: Describe affiliate relationships, sponsorships, gifted products, and complimentary travel.
In WordPress, permanent material such as the About and Contact information normally belongs on pages. Destination guides and regularly published articles normally appear as posts. The theme or template controls how both content types are displayed.
7. Organize the Blog and Plan Your First 15 Articles
A new blog does not need dozens of categories. Start with a small structure that reflects the subjects you are genuinely prepared to cover.
A couples-travel publication might begin with:
- Travel Guides & Tips
- Romantic Getaways
- Honeymoons
- Hotels & Resorts
- Food & Culinary Travel
- Outdoor & Adventure Travel
- Destination Weddings
Categories broadly group related posts. They should help visitors understand the site rather than reproduce every individual keyword or destination. A location with several articles can eventually receive its own destination page without becoming a top-level category.
Build the First Content Library
Planning several articles before launch prevents the blog from becoming a collection of disconnected trip diaries. A balanced first group could include:
- Three destination guides
- Three realistic itineraries
- Three hotel, neighborhood, or transportation comparisons
- Two budgeting or cost-planning articles
- Two packing or preparation guides
- Two experience-based stories with practical lessons
Each article should answer a defined planning question. “A Three-Day Savannah Itinerary for Couples Without a Car” provides clearer value than “Our Trip to Savannah.”
Practical guides can also support destination content. An international travel packing list for couples, for example, can link naturally to country guides, first-flight advice, medication information, and travel-insurance articles.
A personal story can work when it offers decisions and lessons readers can apply. The account of turning a dream of world travel into a realistic plan is more useful when it explains budgeting, compromises, responsibilities, and return-home planning rather than presenting the trip only as inspiration.
8. Make Every Article Useful to Both Partners
A couples-travel article should help two people decide whether a destination, hotel, or experience suits their combined priorities.
Depending on the topic, explain:
- What type of couple the destination suits
- The ideal length of the trip
- The most convenient areas to stay
- Transportation options and transfer times
- Approximate costs, with a date or planning context
- Seasonal conditions and crowd levels
- Accessibility and physical demands
- Booking difficulty
- Safety, entry, or permit considerations
- Meaningful disadvantages
Use both partners’ perspectives when they differ. One person may value nightlife while the other prefers quiet mornings. One may consider a centrally located hotel worth the price, while the other would rather stay farther out and spend the savings on food or activities.
Those differences can create useful comparisons rather than a forced single opinion. Explain what each option offers, who is likely to prefer it, and where compromise may be necessary.
Original photographs, tested routes, cost notes, maps, and firsthand observations can make the article more distinctive. Clearly identify researched information when you have not personally visited a property or used a service. Never describe a hotel, product, or tour as personally experienced unless that is true.
Verify changing details such as opening hours, prices, transportation schedules, entry rules, and closures through authoritative sources before publishing. Return to important articles periodically and update information that could affect a reader’s plans.
9. Build an Audience Through Several Channels
Travel blogs rarely grow through one viral article. A dependable readership usually develops through a useful body of work and several ways for people to discover or revisit it.
Possible audience channels include:
- Search-friendly destination and planning guides
- An email newsletter
- One or two suitable social platforms
- Visual discovery platforms such as Pinterest
- Relevant podcasts and newsletters
- Collaborations with tourism, cultural, or local organizations
- Relationships with other independent publishers
Choose channels that match your abilities. Short video may suit a couple comfortable speaking on camera, while photography, long-form articles, or newsletters may work better for others.
Do not feel pressured to maintain every platform. Your website and email list are especially valuable because you control them. Social platforms can support distribution, but their algorithms, features, and account rules may change.
Set a publishing schedule you can sustain around work, travel, and your relationship. One detailed article every two weeks is more valuable than publishing every day for a month and then abandoning the site.
10. Monetize Without Weakening Reader Trust
A travel blog can eventually generate income, but traffic and revenue are not guaranteed. Build a useful collection of articles and understand your readers before making monetization the center of the site.
Possible income sources include:
- Affiliate links for hotels, tours, insurance, luggage, or booking tools
- Display advertising
- Sponsored campaigns
- Freelance writing, photography, or video
- Downloadable itineraries and planning resources
- Trip-planning services
- Paid group travel, when properly structured
Choose recommendations because they suit the reader, not because they offer the highest commission. Explain significant drawbacks and avoid suggesting that one hotel, insurer, product, or booking service is right for every couple.
The FTC’s endorsement guidance requires material connections to be made clear when they may affect how an audience evaluates a recommendation. These connections can include affiliate commissions, payments, free products, discounts, hosted tours, or complimentary hotel stays.
Place disclosures where readers will notice them before or near the relevant endorsement. Do not rely only on a general disclosure page hidden in the footer.
Publishing articles and using affiliate links is different from accepting client funds, making reservations on a traveler’s behalf, or operating paid group trips. Before offering booking or planning services, check the business, tax, insurance, and consumer-protection requirements that apply where you operate.
Travel advising is also a separate profession with its own systems and responsibilities. Couples considering that route can review how to become a travel agent and specialize in couples travel before accepting responsibility for client bookings.
A Four-Week Travel Blog Launch Plan
| Week | Main Goal | Tasks |
|---|---|---|
| Week 1 | Define the project | Choose the audience, niche, name, roles, boundaries, and startup budget. |
| Week 2 | Build the website | Register the domain, choose the platform, configure the design, and create the essential pages. |
| Week 3 | Prepare content | Choose the categories, plan 15 topics, and complete at least three strong articles. |
| Week 4 | Launch and establish a routine | Publish the website, connect Search Console, submit the sitemap, test all pages, and schedule the next articles. |
You do not need a flawless design, a large social following, or constant international travel before launching. You need a clear audience, a functional website, several genuinely helpful articles, and a process both partners can maintain.
Start with the destinations and planning problems you already understand. As the blog grows, your content, photography, technical skills, and opportunities can grow with it.